Typewriter key jewelry has become quite a rage these days, with many individuals sporting bracelets, rings, necklaces and even earrings made of used up typewriter keys. If you have a fancy for the same, then you don’t need to hunt around for the jewelry in stores. You can make your very own Typewriter Key Jewelry with these really simple steps.
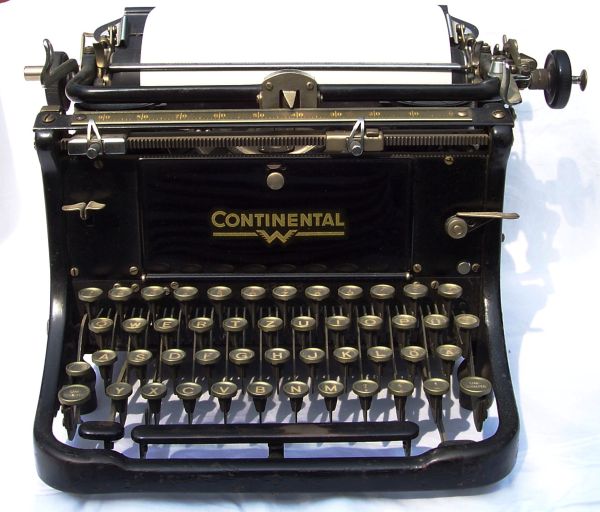
Step 1: Grab a Typewriter from the thrift store
When shopping for a typewriter, you need to make sure of only one thing; that the keys look ok even if the rest of the typewriter is rusted. Another thing you would need to consider is the way the keys are attached to the base of the typewriter. Pronged keys contain plastic backs that are easier to work with. However, the keys in this type would not have the glossy finish required for the jewelry.
Soldered keys on the other hand, are comparatively harder to work with, but come with keys glass coated keys that can be worked on for more shine. Multiple layers of solder though, would make it difficult to remove the keys from the back. So make sure you can work with these keys before buying the typewriter.

Step 2: Removing the Individual Keys
The keys of the typewriter would be attached to the base with the help of metal arms. You would need to remove these arms and isolate the keys. Use heavy duty wire cutters for the same purpose.
Leave a little bit of room at the back of the key when cutting the metal. Using a hammer, chisel and a scrap of wood, cut off the remaining metal from the back of the key. Be really careful here as you don’t want to damage the key in the process.
Step 3: Flatten the Backside
Once you have the individual keys separated completely from their solders, start flattening out their backsides in order to get a uniform setting. Using a large metal file, grind down the leftover metal from the backside. Place the key on a flat surface to test if the back is level. You can also consider using a hammer to tap the back in order to make it even.
Step 4: Clean the Keys
Once they keys are removed and flattened (the backsides), dip them in a solution of water and warm vinegar for about 30 minutes. This would wash away any dust, grime or rust that might have collected on the keys.
You can also consider using a glass cleaner solution for the same purpose. Scrub the keys with a small wad of cotton at regular intervals in between to clean them. Remove them from the solution afterwards and dry them.
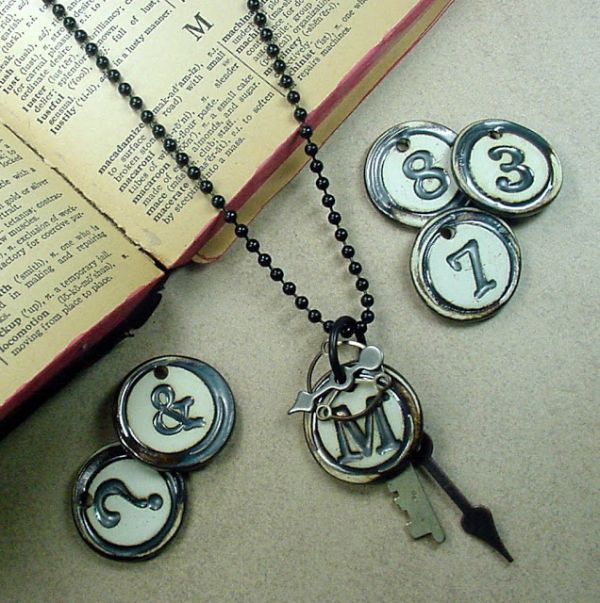
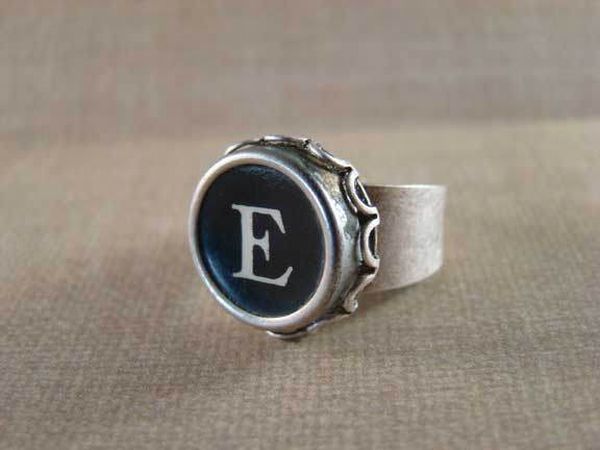
Step 5: Fit the Jewelry Setting
By now, the keys would be ready to be used in any kind of jewelry that you please. However, placing them in a jewelry setting beforehand would minimize the need to bore holes through the keys in order to string them together.
Visit a jewelry supply shop and ask for jewelry setting pieces. It pays to actually measure the diameter of the keys before heading to the shop so that you can get the correct sized setting for the keys. Place the keys in the jewelry setting, and apply a strong adhesive to make them stick to the settings permanently. Leave the adhesive to dry overnight.
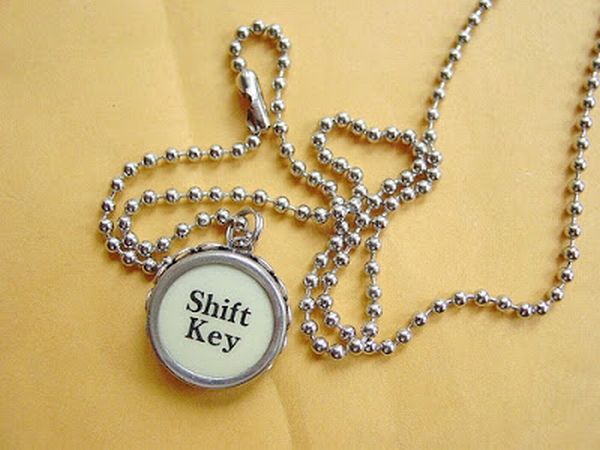
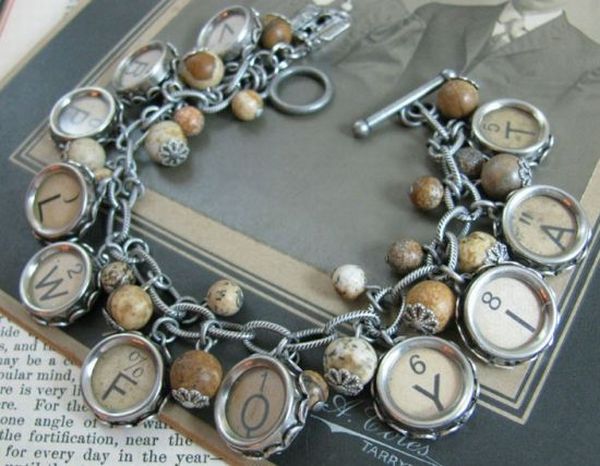
Step 6: Stringing the keys
Use a plier to simply pull back a single scallop from the jewelry setting. Run a jump ring through the scallop and secure it in place. You can now run a chain through the jump ring to make a typewriter key pendant. Add more keys to give a more dramatic effect. Or try using the same method to create bracelets, rings or even steampunk jewelry pieces.