

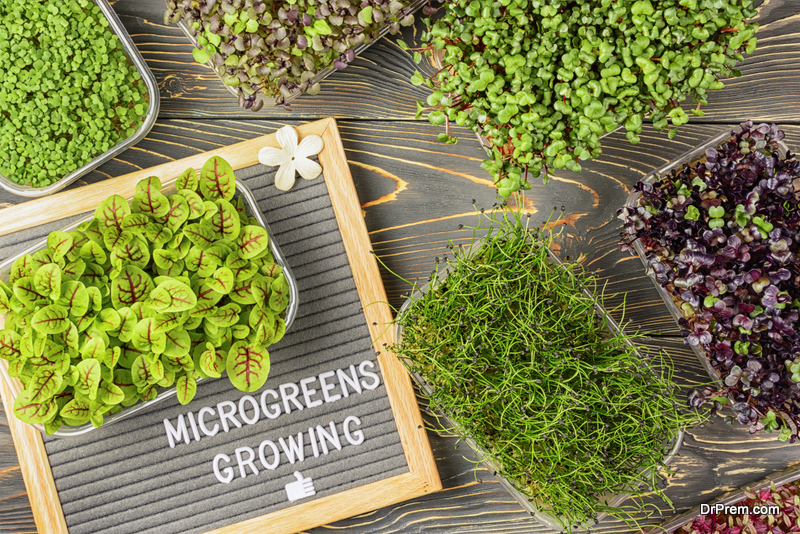
Planting microgreens is an excellent farming practice for beginners. They’re easy to grow and care for and contain lots of essential nutrients for your body.
Microgreens are also excellent for beginners since they don’t need a huge space, unlike conventional vegetable plants. Moreover, gardening is scientifically proven to release stress and tension accumulated from your day-to-day life.
However, you might be wondering how to grow microgreens in your home. Lucky for you, we’ve prepared a step-by-step guide on how to do that, with some tips and tricks to help you.
1. Prepare What You’ll Need
To grow your microgreens at home, you’ll need to prepare the following. While some are not essential in growing microgreens, they can help significantly boost your plants’ quality.
· Growing Medium
Essentially, this is the material you’ll plant your seeds. It can be a mix of peat and perlite, woven textiles, or natural jute mats.
However, soil-based media tend to carry soil-borne diseases, so we recommend you use a soilless mix.
· Seeds
No microgreen farm will be one without seeds. We suggest you use organic, insecticide-free seeds for added safety and nutrition.
· Growing Container
Your growing containers are where your microgreens will spend growing, so you should choose one that’s big and sturdy enough to accommodate their growth correctly.
We highly suggest you choose trays instead of pots for your microgreens since these will save you more space and materials in the long run. Your trays should also be made of food-grade materials to ensure no chemicals can harm your plants.
· Light Source (optional)
Your microgreens need light to grow. Studies have shown that an ample amount of light can grow them better.
Your light source can be natural (by your window) or artificial, but we suggest you stick with direct sunlight for better results.
· Watering Medium
Some experts have mixed opinions on whether you should use a watering can or a spray bottle. However, we think that it depends on your preference and technique.
Adjustable spray bottles are great since they won’t harm your microgreens’ stalk, but watering all your plants may take a long time. On the other hand, watering cans are not as gentle but are significantly faster to use.
Alternatively, you can water your plants from the bottom to prevent mold growth. We’ll discuss this more later.
2. Ready Your Container and Growing Medium
You should choose trays over pots to save space and grow medium. Pots tend to be deeper, making it harder for your seedlings to grow firmer.
You should also poke drainage holes under your tray to ensure that your growing medium only retains the right amount of water. Placing a bigger non-punctured tray at the bottom of your microgreens tray will allow you to water your plants from the bottom.
If you use a jute mat (which we highly encourage that you do), you should soak it first to help the seedlings attach their roots better. You can do the same with a soil and perlite mix.
3. Prepare Your Seed and Begin Sowing
Now that you’ve prepared the required materials and readied the container, you can begin preparing your seeds. Ensure you read the seed packet for instructions regarding your specific microgreen seeds since they might need additional care.
For better growth, soak your seeds overnight (more specifically, eight hours or as long as the packet instructed).
Generally, different microgreen species need a specific density-to-area ratio to maintain the correct spacing between each seed. But don’t worry since you can use this free microgreen seeding density calculator to help you.
4. Water When Needed
You can use either a spray bottle or a watering can to rehydrate your microgreens. As mentioned, they both have pros and cons, depending on your style and preference.
However, you can use another watering technique that adds another layer of protection to your microgreens: watering them from the bottom.
To do this, you should prepare warm water in a separate container. The water should be half as high as your microgreens tray.
Allow your tray to soak in water for about half a minute or until you feel that the growing medium is moist. Drain excess water from your tray by leaving it in a dry area.
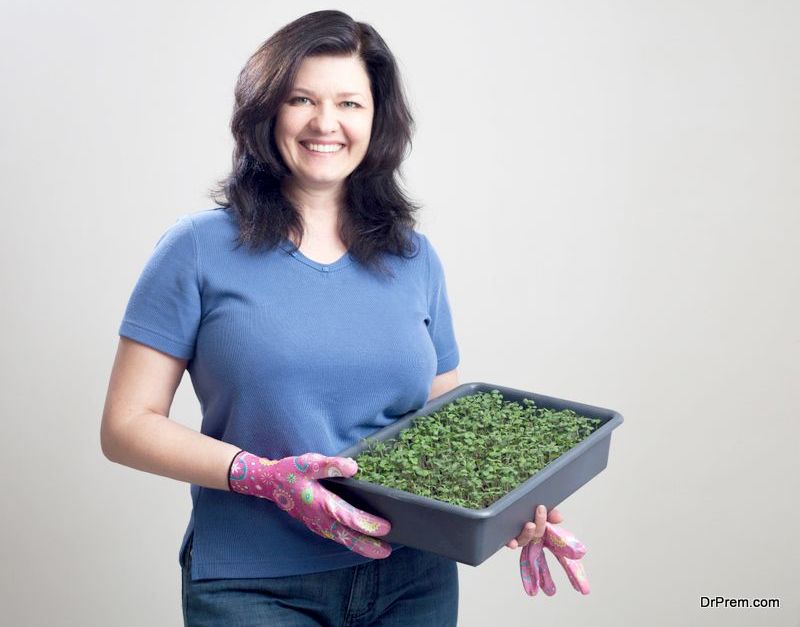
5. Harvest Your Microgreens
Your microgreens should be ready for harvest within days or weeks, depending on their species. You can use scissors or a knife to harvest them, but ensure they’re sharp enough to cut through the stalk cleanly to avoid bruising.
Furthermore, you should always wash them first with clean water before cooking.
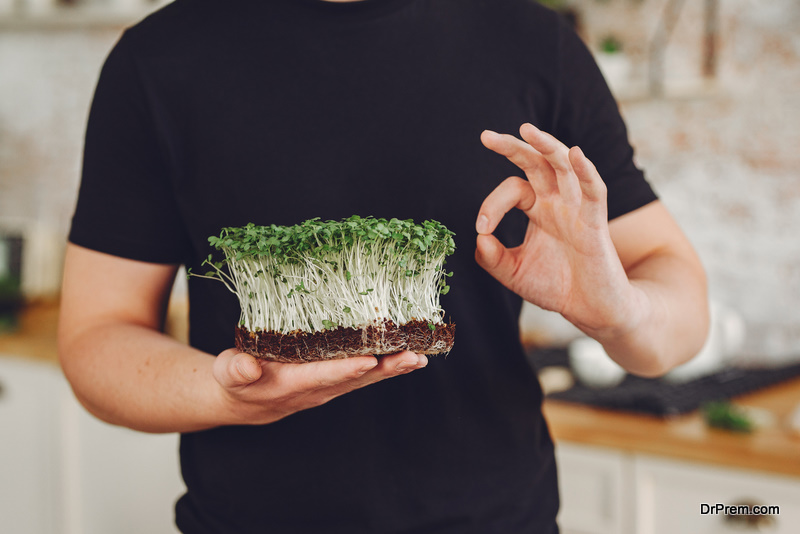
Final Thoughts
Planting microgreens is an excellent entry-level gardening activity. It’s pretty easy to do, and you can do it even with limited spaces in your homes or apartments.
They’re also nutritious, delicious, and easy to cook with many recipes. Moreover, a study from the Journal of Agricultural and Food Chemistry found that microgreens are up to six times more nutritious than their adult leafy counterparts!
Article Submitted By Community Writer