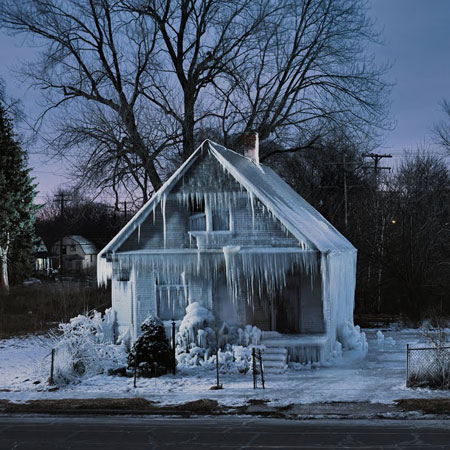

Wonder if you could store ice without electricity or may be in your backyard? You could think of building an Eco-friendly green house. The ice house is more like a freezer which runs without electricity. People have been storing ice without using electricity for ages, you could join the league for once!
Resources required
-
Sheets of wood
-
Shovel
-
Saw dust or straw
-
Concrete masonry units
-
Hinges
-
Hammer
-
Nails
-
Tape measure
-
Recycled shingles
-
Old tyre – 1
-
A handle
-
2*4
Instructions
1. Find a spot
The first thing you have to do is find a suitable spot to build your ice house. It needs to be shady place and so find a spot in your back yard. If you fail to find a place which is shaded then you could try building one near your garage (if you have one). You can build a trellis or overhang from the roof of the garage and this can provide the needed shade to the ice house.
2. Size of the ice house
The next step is to decide how big an ice house you need. It will completely depend on the amount of ice that you need. You do not necessarily need to build a fancy house to store your ice. In olden days, ice was stored by just wrapping sawdust around it and placing a tarp on it. You could think of something similar as you ultimately aim at storing ice and not building a house.
3. The specifications of the ice
The ice that you will use store in the ice house should be at least fifteen inches away from the walls of the ice house. So, you will basically have to leave fifteen inches from both sides of the wall. The size of your ice house will depend on this calculation. Suppose you want to store ice which is of the specification 2*2*2, then you will have to build an ice house that will be 4 inches long, high and wide. Depending on this formula, you can calculate the size of your house depending on the size of the ice you will store.
4. Start building
Once you have decided on the size of your ice house, take a shovel and start digging. Start with digging a hole a few inches apart from the real building site. Fill the hole up with cinder blocks which is also known as concrete masonry units. Make sure that the top part of the cinder blocks are at least six inches below the surface of the earth. Place floor planks on top of the cinder blocks at a certain angle so that water can drain easily.
5. Walls
Now start making a skeletal wall frame using six to eight 2*4s. All of them should at least be a feet into the ground. Use stout planks which will support the walls. You can also use concrete to fortify the walls. Wood sheets have to be used to make the walls.
After you are done doing this, build another wall inside of the first wall that you have built. Fill the space between the two walls with sawdust or straws.
6. Hatch
Building a hatch is very vital to load and retrieve ice. Use hinges to attach the thatch door. The thatch door should be at least as thick as the two doors together. Fix a handle to the thatch door using nails. Take an old tire and cut it up into rubber strips. Use these rubber strips in the area where the thatch door meets the frame. This will provide extra insulation and will also keep the door in place.
7. Roof
Place a roof on the whole structure and make sure that the roof is slanting towards the north. Place recycle shingles on the roof and insulate the roof. After you are done with placing the shingles paint the roof white.
8. Floor
Feel the floor with sawdust or straw of about fifteen inches deep.
Frequently asked question
1. Why do I need to paint the roof white?
Ans: You need to paint the roof white so that it reflects heat and reduces the effect of climatic changes.
Quick tips
Use rubber strips in the area between the thatch door and the frame to provide insulation and to keep the thatch door in place.
Things to watch out for: Make sure that you are careful while using nails and putting up the thatch door and the roof.