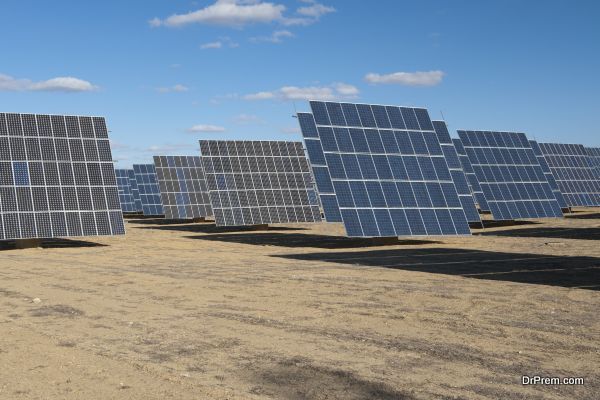
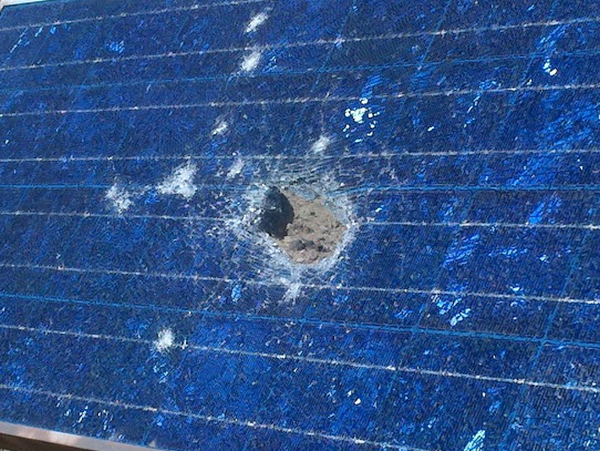
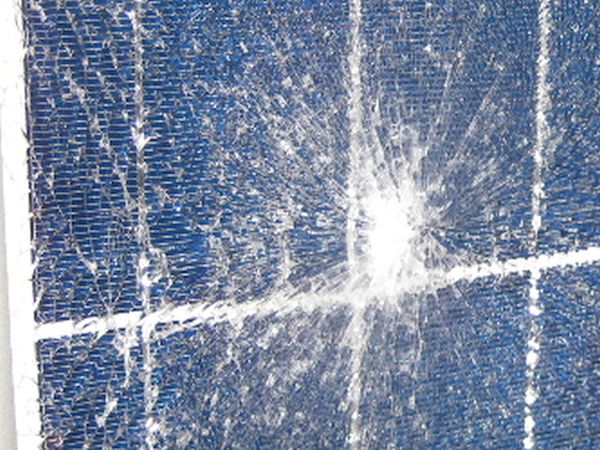
A lot of households are opting to install solar panels on their rooftops in order to conserve energy and reduce their environmental impact. Although solar panels are energy efficient, they come with one serious issue, extreme fragility. Solar panels can easily break or get damaged, with the main reasons being rocks, hailstorms, bullets, broken glass or even a fall.
In most cases, homeowners tend to replace these panels altogether which is an expensive option. However, a cheaper alternative is to repair these panels so that they can work again. Here is a DIY option to help make a broken solar panel work effectively again.
Tools Needed for the Project
Light duty electronics rosin core or silver solder.
15-25 Watts soldering iron
Multimeter
Solar tabbing pre-tinned ribbing
Pencil eraser
Reverse Flow Diode (optional)
Plexiglass
Plywood
Method to Follow
Step 1: Check for tabbing beneath solar cells
This is very important as you need to check if each solar cell has the tabbing on the busbar. If not, clean the busbar’s surface gently using the eraser. Remove any dark spots on the busbar as these will prevent the solder from sticking properly afterwards.
Step 2: Tin the Soldering Iron
Use a blob of solder to tin the soldering iron. Wait for the fumes to dissipate and then run the solder along the length of the busbar. Try to get the solder along the entire length. If not, make sure the solder is well placed on a few strategic spots at least.
Step 3: Attach the tabbing to the busbar
Cut out a piece of tabbing and melt it with the soldering iron. Place the tabbing on the busbar and press gently. Follow the same process for the rest of the cells in the tabbing.
Step 4: Solder to Cell
Once the tabbing for all the cells has been placed, you will need to solder a lead to the back of each cell. You will most likely come across a small dark area behind the cell which is the area you need to solder to. Apply some solder to the soldering iron and wait for the fumes to die down. Apply the solder to the dark area under the cell, beneath the busbar. Melt an inch or so of tabbing onto the solder as well. Do this for all the cells.
Step 5: Wire the Cells in Series
The next step you need to do is wire the cells in series. This is done by connecting the tab soldered at the back of one cell to the front of the next cell and so on. Use the same soldering technique to melt the tabbing from the back of each cell and attach it to the topside of the next cell. The more cells you connect this way, the more volts you can generate with the setup.
Step 6: Set up Reverse Flow Diode

This step is optional in case you plan on using a charge controller. If not, then you will have to connect a reverse flow diode to the positive side of the batteries. This will help prevent the latter from losing their power in the night.
Step 7: Place inside Enclosure
Once all the wiring is in place, you will need to enclose the DIY solar panel properly. A simple option here is to arrange the setup on a piece plywood and seal it with shatter proof plexiglass. You can also choose to create a frame for this setup using pine pieces for added protection.
Step 8: Place the DIY solar panel
Slowly carry the DIY solar panel outdoors and place it in an inclined position facing the sun. That’s all there is to it. Your DIY solar panel is ready to soak up the sun’s rays as well as the envy of all the neighbors who catch a glimpse of it.
These DIY solar panels will help provide your household with the energy it needs while not necessarily burning a hole through your wallet.