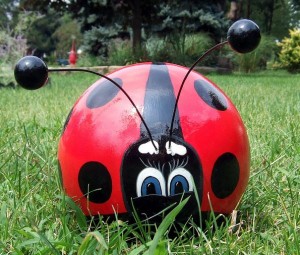
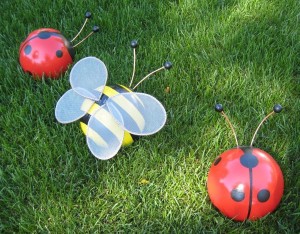
Want to make a giant lady bug bowling ball to decorate your garden? Then here is a useful tutorial that would help you out.
Things you will need
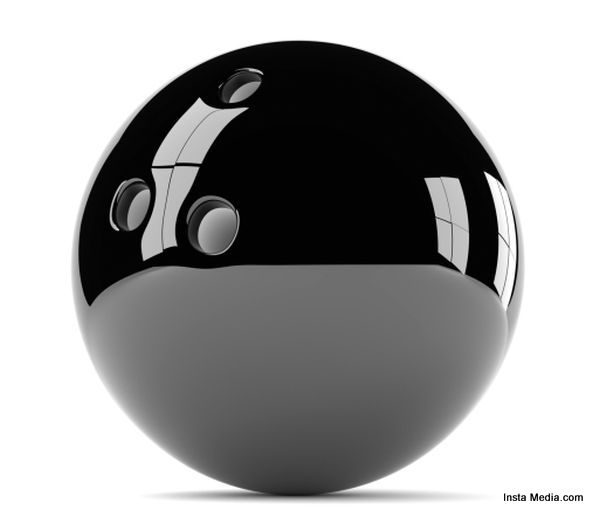
A bowling ball
2 Spray paint cans
White paint
Black paint
Masking Tape
Pencil
Paintbrush
A metal rod to balance the bowling ball
Scissors
Procedure
1. Mount the ball on the metal rod and balance it nicely so that it doesn’t roll away when you are working on it.
2. You need to make the surface of the ball rough enough for the paint to stick to it so that it does not peel away later. So sand your bowling ball well before painting it. Make sure you don’t leave any area of the ball, including the finger holes.
3. Spray paint the bowling ball black, making sure you apply a thin, even coat throughout. Don’t leave out the finger holes as well. Once painted, let the ball dry nicely for at least a day for the paint to set nicely.
4. Draw the individual pieces of the ladybug on a piece of paper, color them accordingly, and cut them. Otherwise you can print out these pieces on custom sticker papers and then cut them afterwards.
5. Once the bowling ball is dry, stick all these individual pieces onto it using masking tape (not needed if you used stickers). Make sure there are no cracks in between the template and the ball, and that the pieces are evenly placed on the ball without any wrinkles. You can expect some of the black paint to seep through. Don’t worry about it though for you can touch it up later.
6. After sticking all the pieces (sans the eyes), spray paint the bowling ball again (the exposed portions) with any color of your choice. Let the paint dry again for another full day.
7. Once the paint has dried completely, peel back all the stickers or pieces. If you used masking tape to attach the pieces to the ball, be wary of heavy spots of paint on them.
8. It’s time to stick the eyes. Place the piece corresponding to the eye above the finger slot and use a pencil to mark the outline. Remove the template and paint the marked area white, leaving out the finger holes which would remain black.
9.Do last minute touch ups to any uneven or blotched surfaces, and let the bowling ball dry for 24 hours yet again. Once that is done, place the ball in your garden to greet visitors.