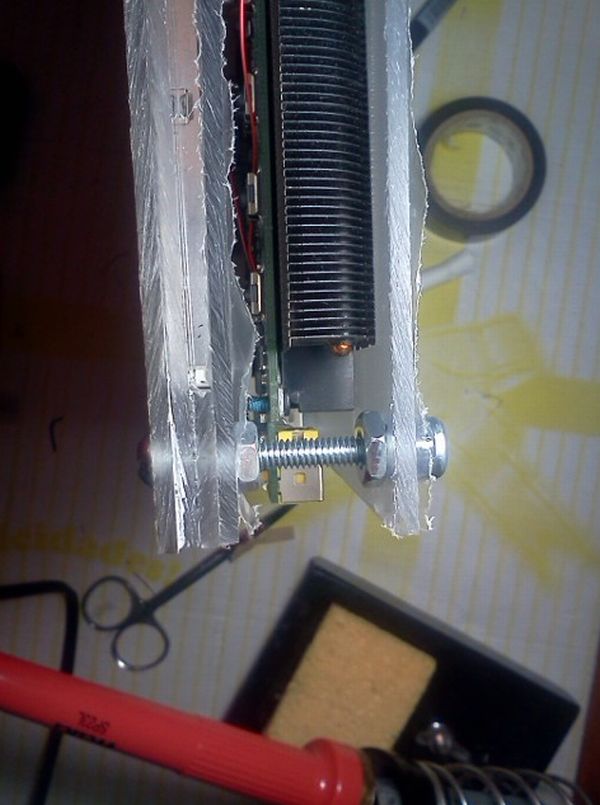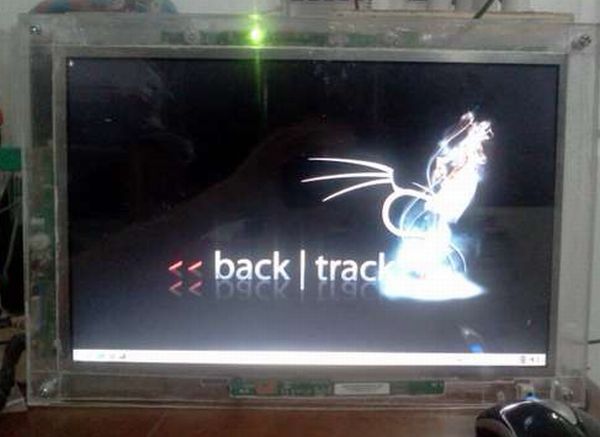
Bored with your old laptop and would like to convert it into a desktop? Here is an easy way which can help you out effectively. You do not require any advanced craftsmanship and tools to be able to breathe new life into your old laptop. This procedure only helps you to make a new computer case. So without wasting anymore time, let us begin our mission right away.
Difficulty level:
Medium
Time required to complete the project:
5 hours
Requirements:
- You must have enough amount of acrylic to cut three panels of the size of the screen and this depends on the size of the laptop and your skill to do it.).
- You need four screws with the size of the expected thickness at least. (depending on your laptop).
- Eight nuts for the above mentioned screws, four of which are normal and the remaining four locknuts.
- Enough screws for the motherboard which depends on the laptop.
- Spacers(the screws used to secure the motherboard must fit in).
- A push button which will be the new power switch.
- Around three feet of wire.
- And the last but not the least a laptop.
Tools:
- A drill
- A hacksaw
- A screwdriver
- Soldering Iron
- Elbow grease
Things to remember:
1. There are many screw holes in the motherboard. You need not be a good craftsman for this since it required you to line up three holes.
2. Spacers should help you to keep motherboard and the middle acrylic layer in the same level. You must ensure that the spacers are present both below and above the motherboard. Use the smallest spacers which you can use but try to keep everything at the same level.
3. Most likely, you will have to relocate the power button. To be able to do this, you must first decide where the power button was earlier posited. The next step would be to solder a pair of wires to this button.
Procedure:
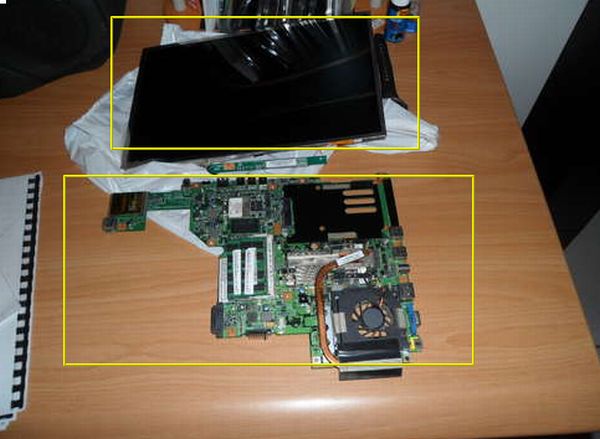
1. First step is disassembling the laptop. Each model of laptop is different from the other. So, it is impossible to provide specific details. But, in general, there is always a screwdriver under the keyboard which prevents separation of the two halves. So, first of all, we need to open that screw. We finally end up setting the screen monitor, the ram, and the hard disk. The touchpad webcam and other portable devices will not be installed since they are externally connected through usb ports.
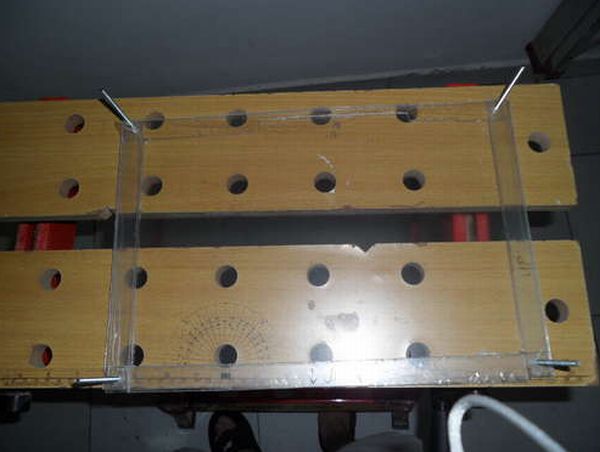
2. The next step is to take measurement of the screen and cut your acrylic pane in such a way that it is larger than the screen’s border. Exactly how much you leave on each side solely depends on your skill. The better you are, the fewer margins you will need. After that you need to cut some strips such that they overlap the bigger cover on the margin. This means that if 1 inch border is left. then thicks strips measuring one inch should be cut and placed along the corner. The void in the center is the place where the screen will be. The strips will keep the screen centered. Next, you have to drill four holes in such a way that each hold should be in one corner and the strip that corresponds to it and then insert the 4 main screws. Do not insert any nut in these screws yet.
3.Then, you have to take another acrylic sheet and then cut it in the same size as the one that corresponds to the main cover (which is the size of your screen and your selected margin taken together). Drill four holes in the same location and make sure the screws go through neatly. Next step is to arrange for a slot for the cable of the screen. To do this, use the drill to make four consecutive holes so that the irregularities are filed. Insert this cover on top of the screen, which should already be residing in the front cover between the strips.
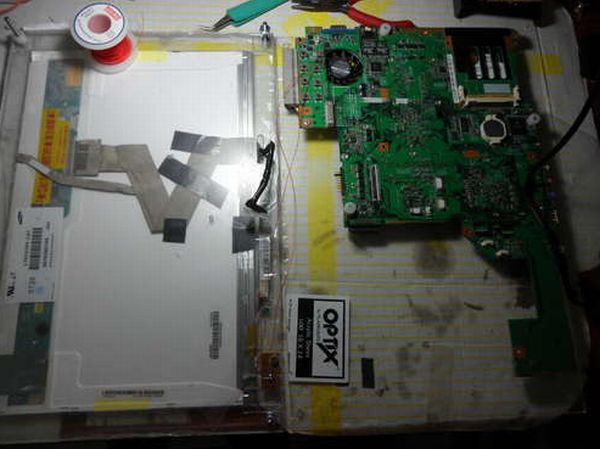
So if you have accomplished the task and taken it this far. Now, take some rest to admire your work and then again proceed after 5 minutes.
4. Now, we are going to make the back cover. For that, you have to cut an acrylic plate which is about the same size as the front cover and middle cover. Drill the four holes in the same way you have done with the previous layers. Then, place the motherboard over the middle cover in a way you can connect the video cable to the motherboard. Next it is time to make a connection from the screen to the cable on to your mother board and place your mother board in such a way that connectors border the sides of the acrylic. Then you have to position the back plate over the motherboard and mark in the acrylic where the motherboard screw holes are posited.. Take off the back cover and drill the holes. Then, reposition the plate over the motherboard and insert the screw.
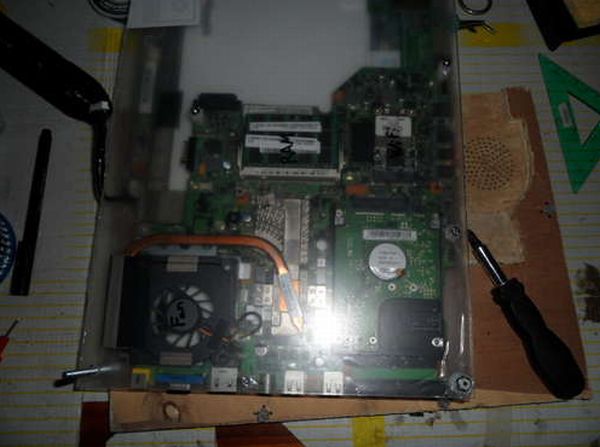
5. Then you have to print a fan whole template. After that you have to place the pattern over the fan and place lots of transparent tape over it, so that when you drill through it, the pattern does not move. Then remove the backplate from the rest of the assembly, place it on bench and drill the fan holes with the largest bit that you can comfortably use without the risk of breaking the pattern and/or the acrylic.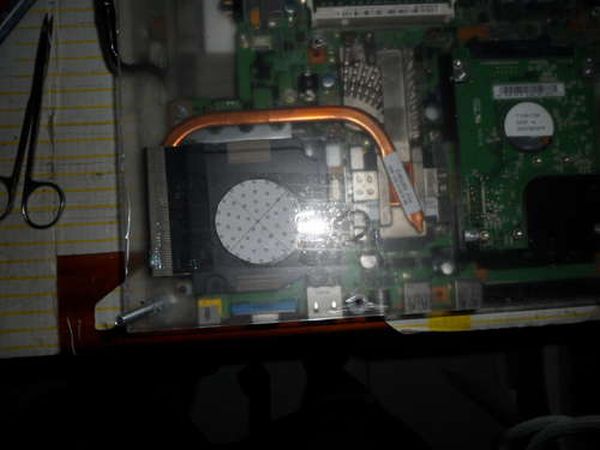
6. After this, solder the other ends of the same wire into the push button that will act as a replacement, and then stick it through a hole drilled in the acrylic. The exact dimensions of the hole will varies on the button you choose to install in your laptop.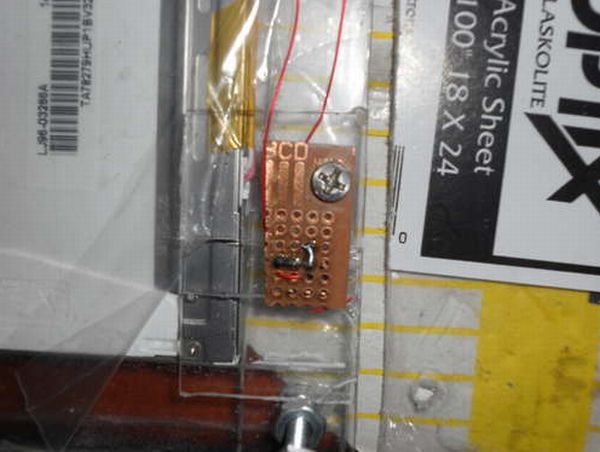
7. Put all the acrylic and computer pieces together in their respective order. The top layer must be between a normal nut and a locknut. Voila’ Now you have a nice desktop (or tablet with a touch screen kit).
