


‘Create your own solar powered emergency radio’ was the motto Zimmerman stuck onto while creating his masterpiece. Taking these words seriously, he ventured out into the market, where he figured the rest of the readymade solar powered radios were just a bit too exorbitantly priced.
Vowing to not pay as high as $60 for the charger, he decided to buy the raw materials in bulk for as less than $10 and make his own solar powered radio. Even you can make one for yourself at home, unfortunately, it won’t be as less than $10 but around $30 or so. Bring those materials, rake up all your courage, and get ready to embark on a bumpy ride. The use of solar energy is the most commendable part of the whole concept of making the solar charger.
Difficulty Level:
The difficulty level is easy. So, all those amateur people can even build the charger without worrying about getting messed up.
Time Required:
It should not take more than 2 hours, if you work diligently and in a dedicated manner.
Estimated Cost:
As mentioned above, the whole costing would fall around $30.
What you’re going to need?
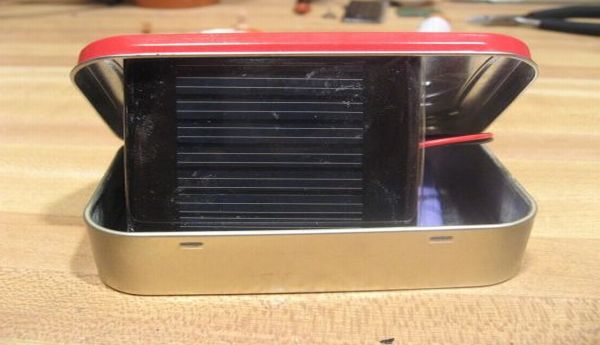
One USB charging circuit, a solar panel 4V or greater, 1 AA battery holder, IN914 Diode and Altoid Tin (which is the main requirement) and some wire.
Things to keep in mind:
Joshua Zimmerman has made it easier for you to create your radio. You can check out the instructions in his list of Instructables.
Procedure:
The first prime most thing to do is to wire the solar panel to the IN914 diode. The only precaution to take is the soldering needs to be done very carefully and one should ensure that the black bar on the diode is pointing directly away from the solar cell.
Once the diode is connected, you need to attach long wires to the diode as well as to the solar panel. Follow this up with taping the wires for protection.
As all the wiring an taping up is done, you need to connect the solar panel to the battery pack for power. All you need to be careful about is the + and – points on your board. Once that’s figured, it would be cake walk.
So, in the end, all that needs to be taken care of are the switches. There would be 3 options, On Off and USB. Better to keep the USB option selected always so that you don’t end up losing any unwanted power.
Lastly, simply solder the positive bundle to the +ve on the board and the same with the negative points on the board. Once this is done, your own solar charger is all set to be used.