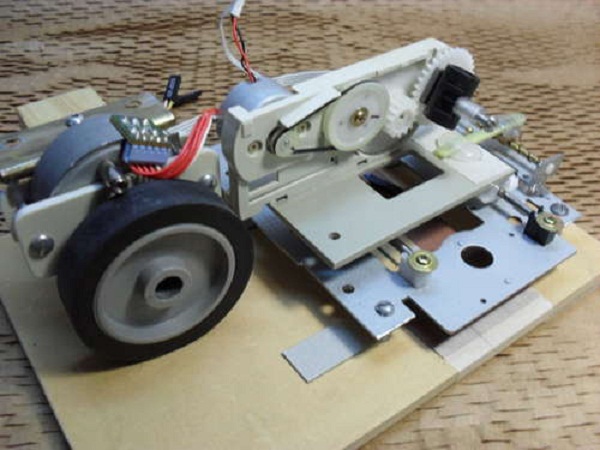
Undoubtedly, having a nice working printer is a great possession for most of us. This technology has certainly made our life easier than ever. So, if you are planning to purchase a new printer, drop the idea and design your own conventional printer at your home. You would think what a joke? If you donât believe me, read out this guideline on how to make a good resolution indigenous printer from the internal parts of the CD reader.
Complexity level:
Moderate
Time required:
Varies from individual to individual
What you are going to need?
- CD reader
- DVD reader
- Wooden Base
- Stepper motor
- Rubber wheel
- Screw
- Glue
- Sand Paper
- Dermel
Things to keep in mind:
The materials used in this experiment could be delicate; therefore, proper cautionary measure should be taken while handling them. Otherwise, your negligence might end up damaging yourself or the other objects used in the experimentation. Remember, the printer you are about to design might not deliver high resolution printing, but overall its quality will be satisfactory.
Procedure:
Simply follow these steps and within few hours, your printer will be printing the documents for you.
Step 1: Materials

You can either choose a CD reader or a DVD reader to create your printer. Try making a good laser out using a bipolar motor. Even a regular dc motor will work fine in case you havenât used a steeper motor. Another steeper motor with a rubber wheel and a wooden base will be needed later.
Step 2: First motor
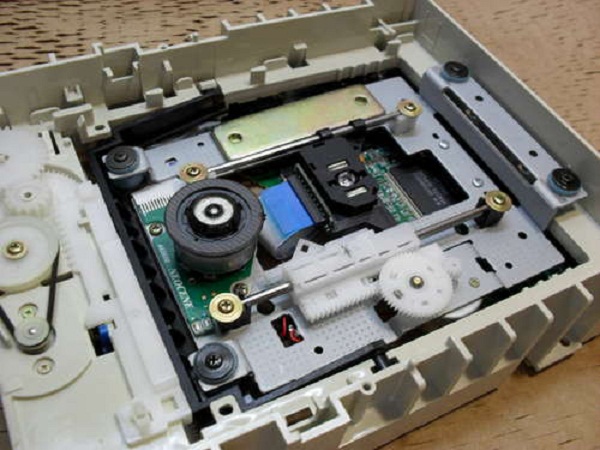
Use the metal support and the horizontal guides in order to remove this motor. Remember not to use the pickup laser. It will be used in next step.
Step 3: Second motor
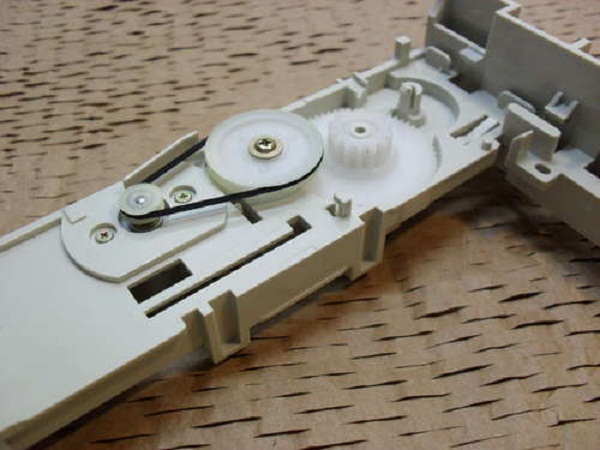
Make use of the above images to remove the second motor with all the reduction gears. Cut the plastic of the CD reader with a dermel and remove the additional plastic by rubbing with a sand paper.
Step 4: Finish the Cartridge
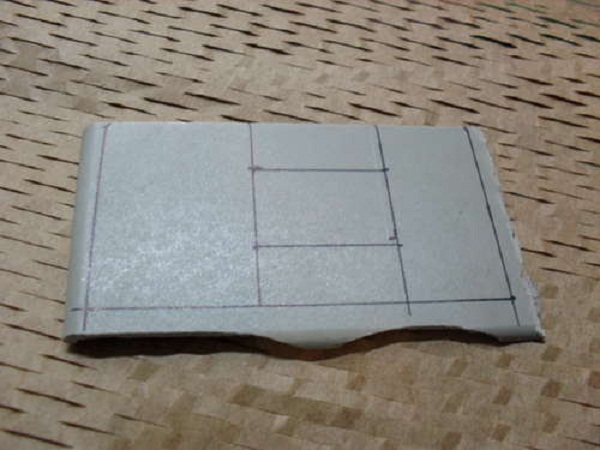
The backside of the CD driver will be used as a cartridge, where the marker will be attached. Attach the dc motor to one side of the plastic and then glue this all over the marker of the pickup laser.
Step 5: Marker holder
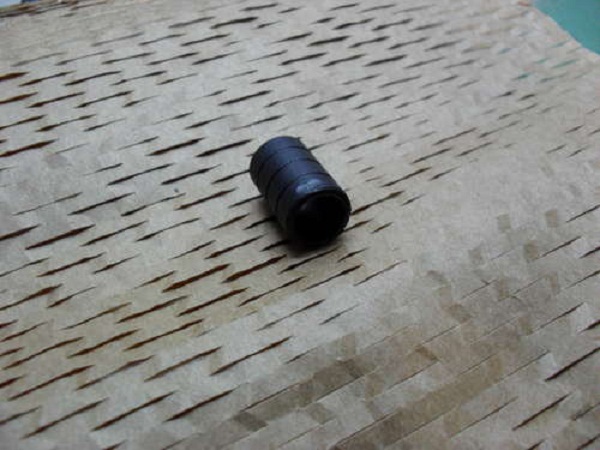
Change the marker through the cylindrical little piece with a hole on one side. Glue the hole with a screw to the last reduction gear.
Step 6: New motor
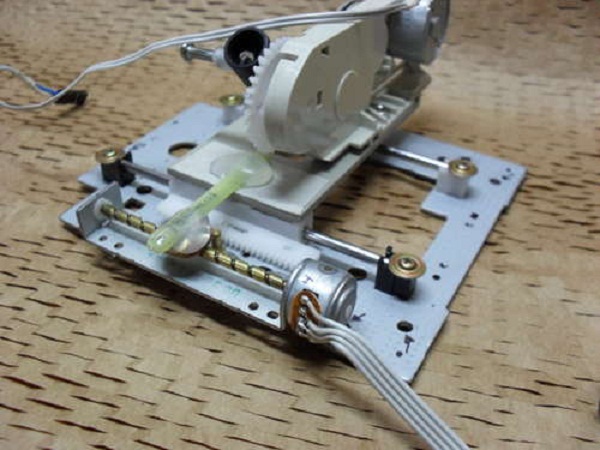
If you have used a dc motor in the first step, it is advisable to change it to bipolar steeper motor to increase the efficiency of the printer.
Step 7: Electronic board
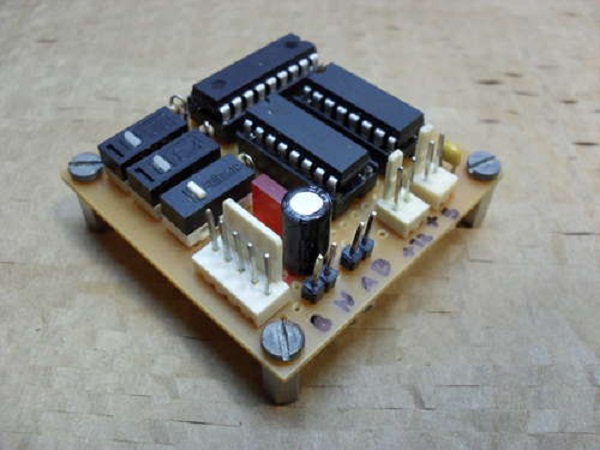
Develop the circuit using a perfboard and use the three switches in the image to complete the electronic board.
Step 8: Finish the hardware

Use the images as a help to finish the hardware of your printer.


